Terraria: How to Set Up a Server
Table of Contents
Terraria server hosting on HardGaming starts at $1 a month, and the path from picking a plan to a running world takes about ten minutes. This guide covers choosing a plan, naming your world, setting its size and difficulty, paying, and confirming the server came up.
Before You Start
- A HardGaming account. Create one at hardgaming.tech first. You can pick a plan without one, but Continue to Configuration then stops with Please login first to purchase a game server.
- A payment method. Your card is entered at the last step and saved for the monthly subscription.
- Desktop and mobile players can join. On the 1.4.5 server build, Windows, Mac, Linux, iOS and Android players share one world. Console players can join once your server runs 1.4.6 or later, which you set with Terraria version in Step 8.
- Nothing to install. Every step happens in your browser. The server files are downloaded and unpacked for you.
- Your world settings are not final. Name, player count, difficulty and password are all set during checkout, and the world is generated the first time the server starts.
Step 1: Open the HardGaming Website
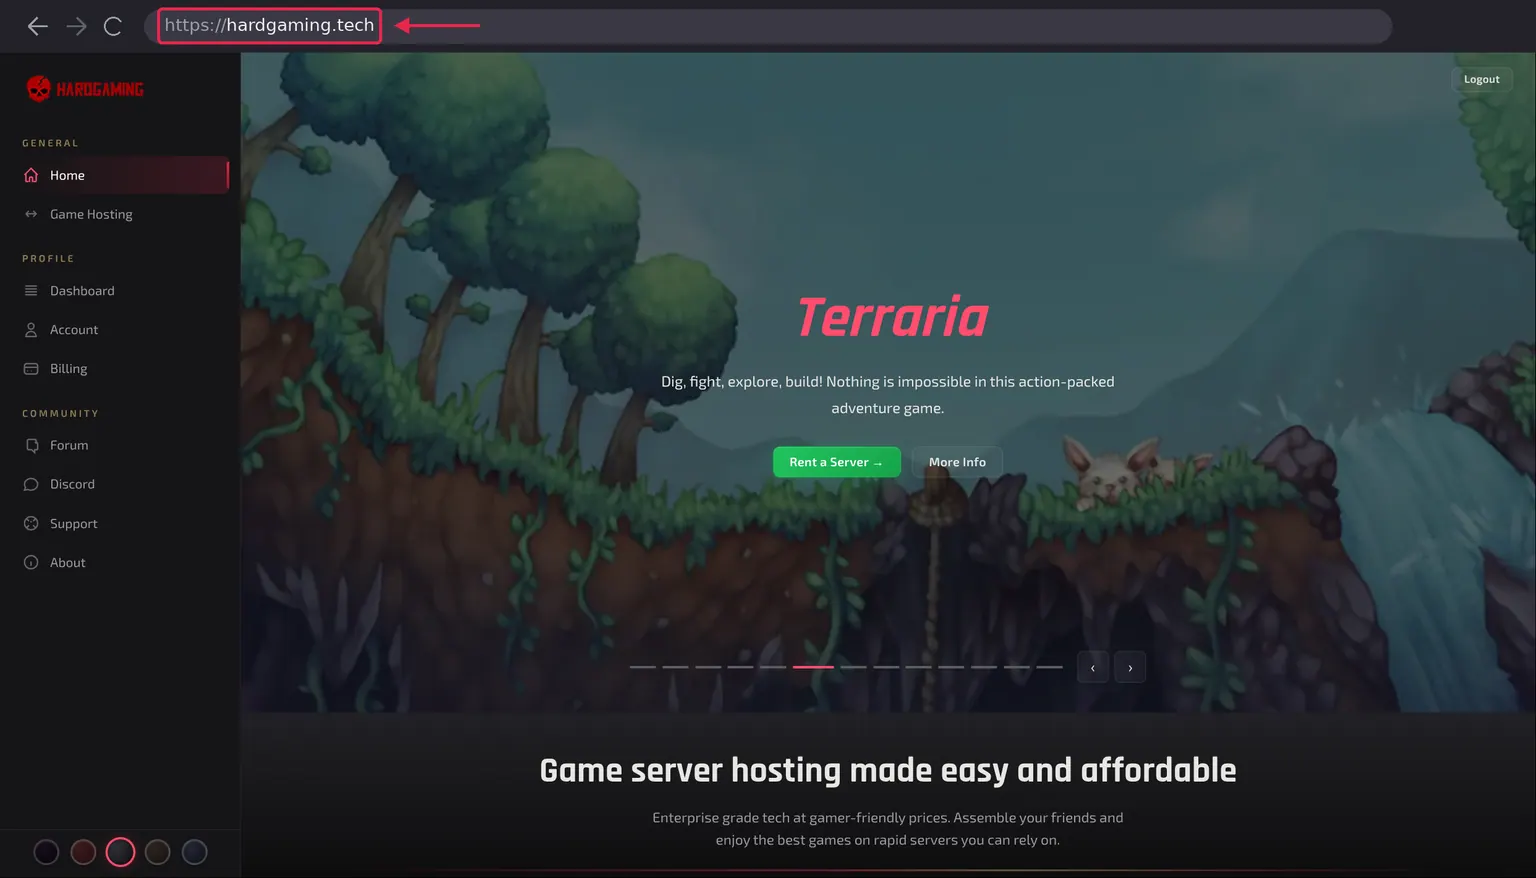
Go to hardgaming.tech and sign in. If you would rather skip the browsing, go straight to Terraria server hosting and continue from Step 4.
Step 2: Select Game Hosting
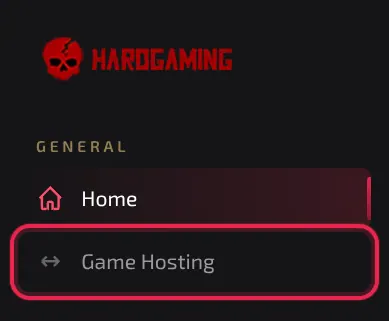
In the sidebar on the left, click Game Hosting.
Step 3: Select the Terraria Tile
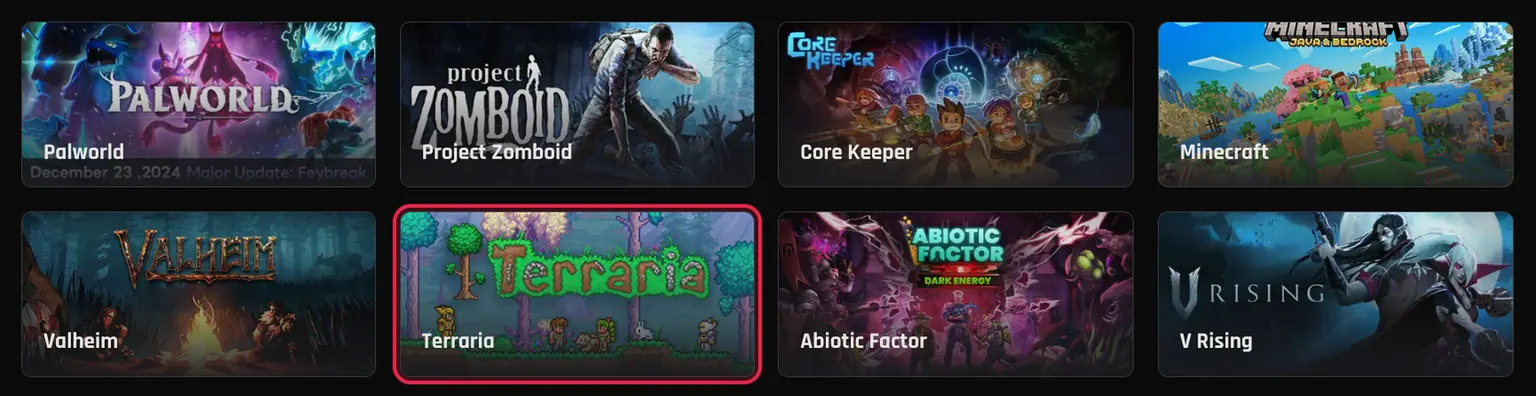
The grid lists every game HardGaming hosts. Click the Terraria tile.
Step 4: Choose a Plan
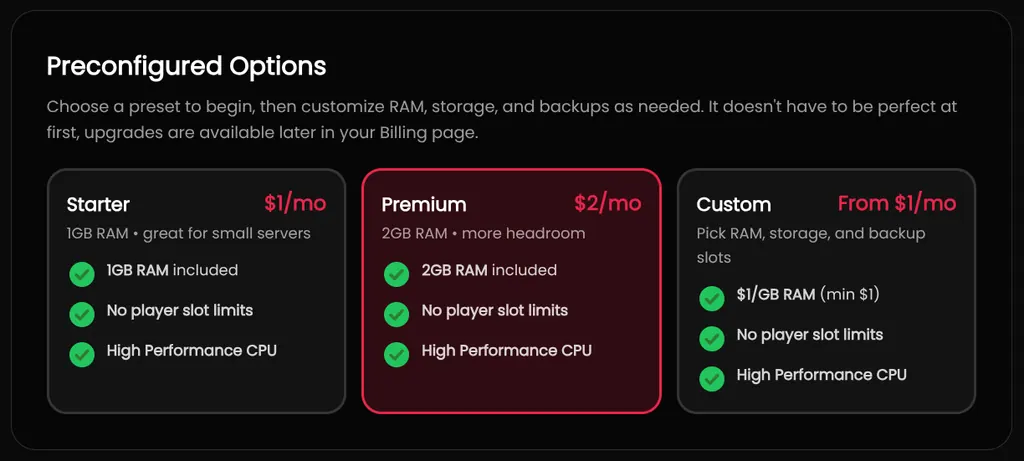
Three presets are offered, and Premium is selected for you. Click the one you want.
- Starter, $1 a month, includes 1GB of RAM. Enough for a small world with a few friends.
- Premium, $2 a month, includes 2GB of RAM. More headroom for a busier world.
- Custom, from $1 a month, lets you pick RAM, storage and backup slots yourself.
No plan limits how many players can join. That is set by Max Players in Step 8.
Step 5: Adjust Memory and Storage
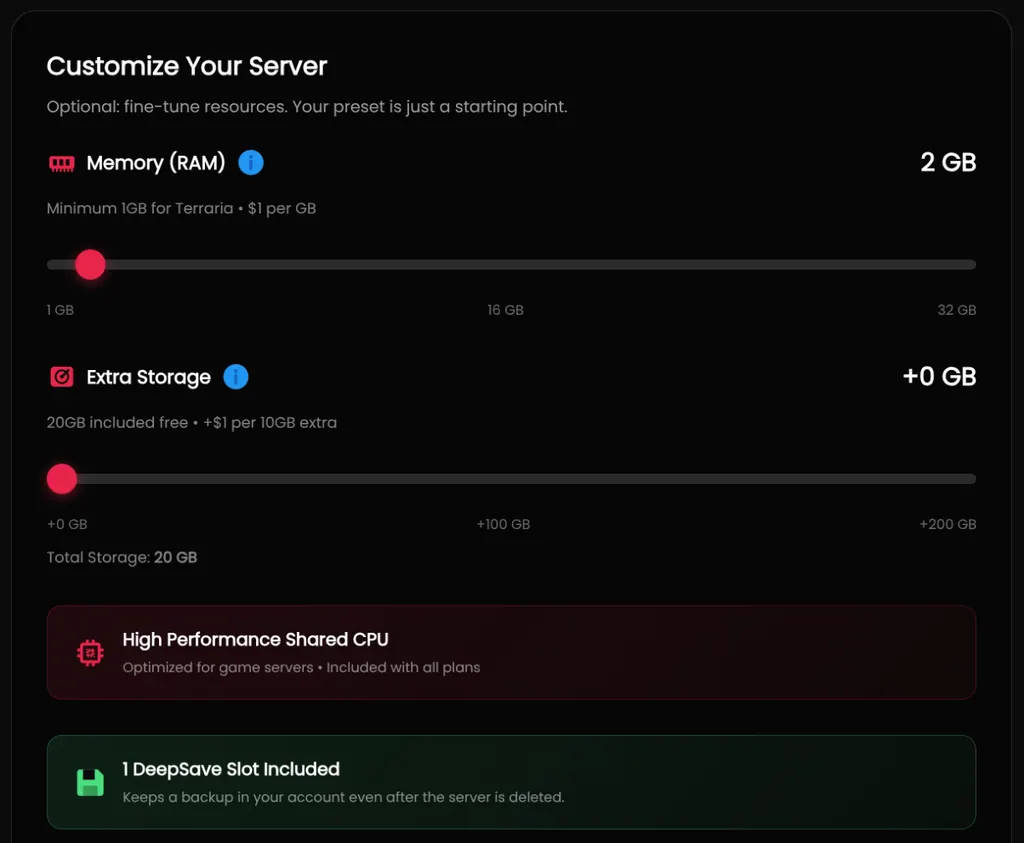
The preset is a starting point, and this whole section is optional. Drag Memory (RAM) to change how much memory the world gets, at $1 per GB. Terraria needs at least 1GB.
Extra Storage adds to the 20GB that every plan includes. Backup Slots start at three for free, and each extra $1 a month adds three more.
Every plan also includes one DeepSave slot, which keeps a backup in your account even after the server is deleted. Our DeepSave guide covers how to use it.
Step 6: Check the Price and Continue
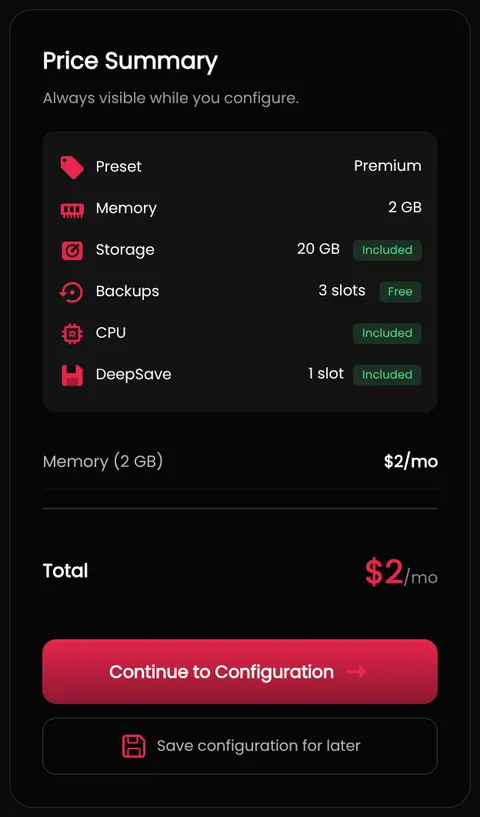
Price Summary on the right updates as you change anything, so the total there is what you will be charged each month. When it reads what you expect, click Continue to Configuration.
Tip: Save configuration for later keeps your choices and confirms with Configuration saved ✓, so you can come back to them instead of starting over.
Step 7: Name Your Server
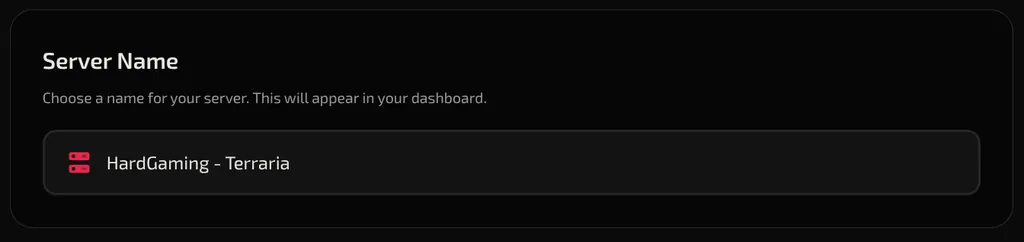
Type a name into Server Name. This is the name you will see in your dashboard, and it is the one required field on this page.
Step 8: Set Your World Options
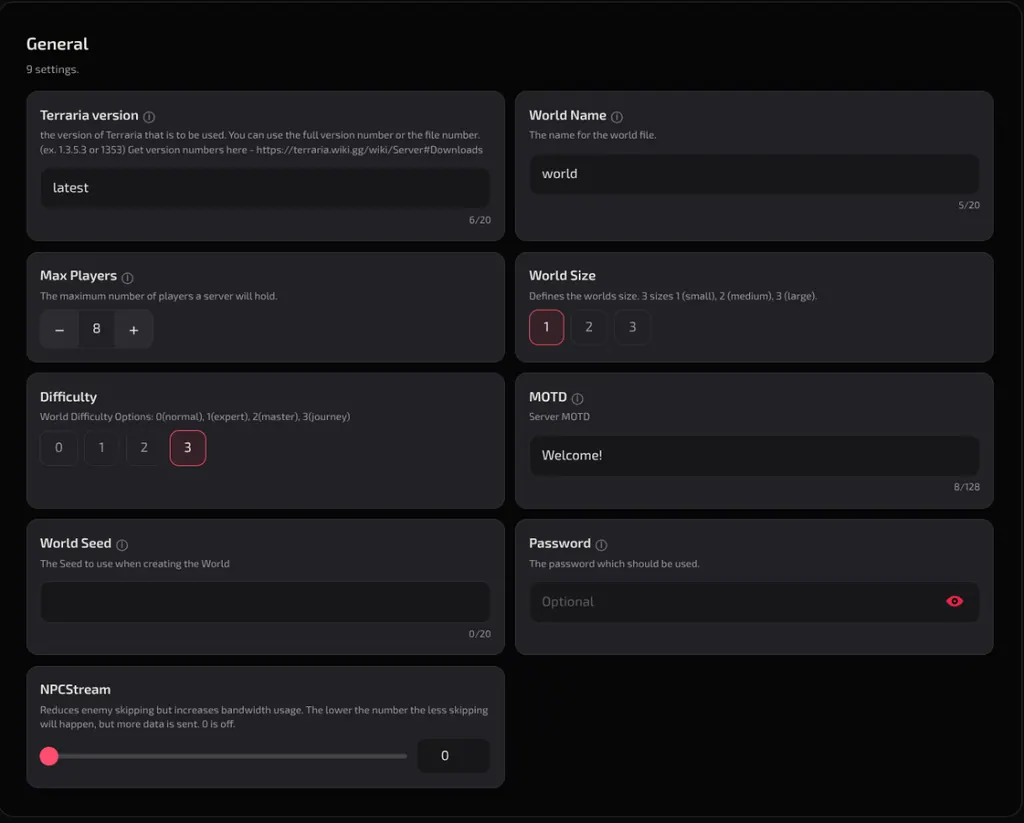
The General section holds nine settings. Every one has a working default, so you can change only what matters to you and move on. The full list is in Terraria World Settings below.
Two are worth setting now. Password makes the world private, and leaving it empty lets anyone with your address join. Difficulty defaults to 3, which is journey mode, so change it if you want a normal world.
None of these choices are permanent. Every setting here appears again on the Startup tab of your server once it exists.
Step 9: Review Your Configuration
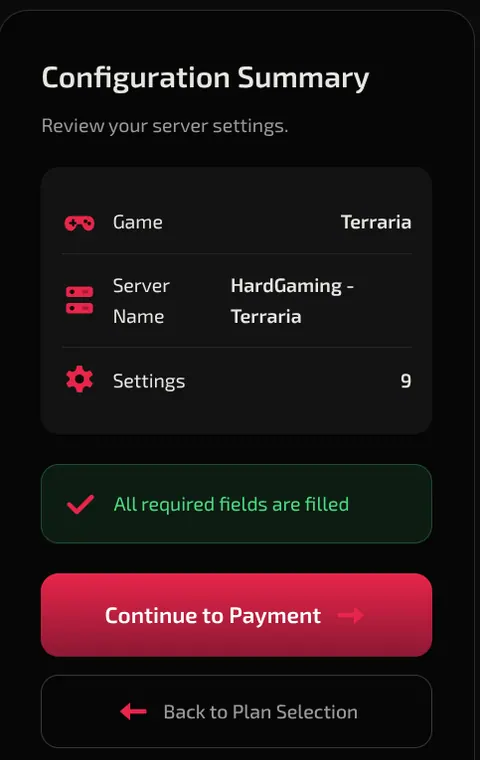
Configuration Summary on the right lists your game, server name and how many settings you have. It reads All required fields are filled once the server name is set. Click Continue to Payment.
Step 10: Enter Your Payment Details
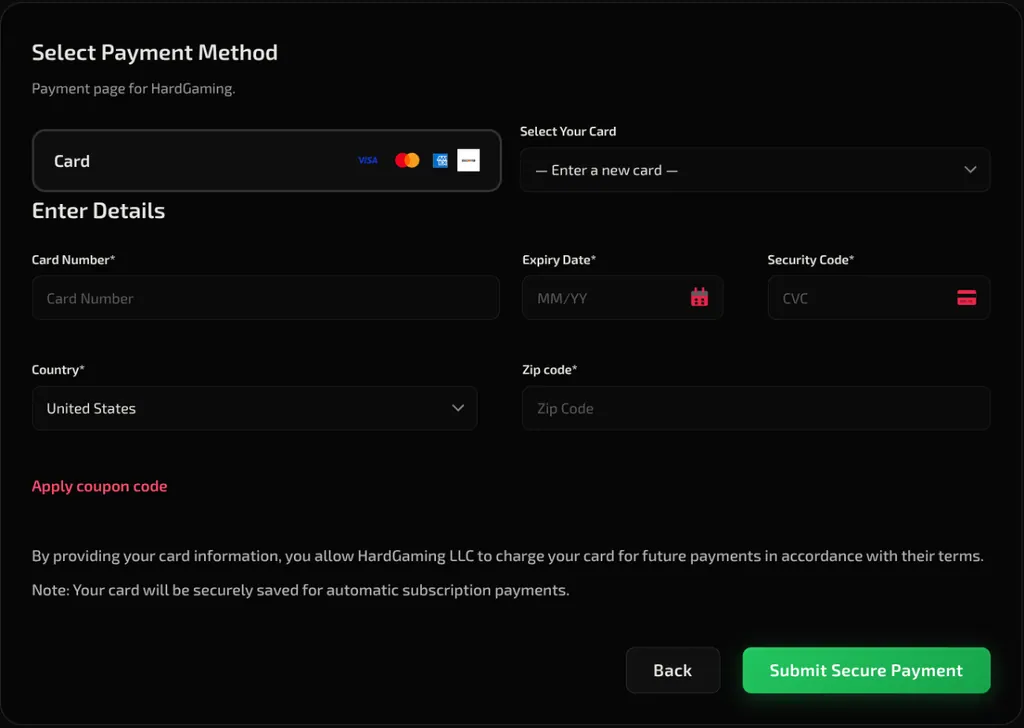
Leave Select Your Card on Enter a new card, or pick a card you have used before. Fill in Card Number, Expiry Date, Security Code, Country and Zip code, then click Submit Secure Payment.
Warning: Your card is saved and charged every month until you cancel the server from your Billing page.
Step 11: Confirm Your Server Is Running
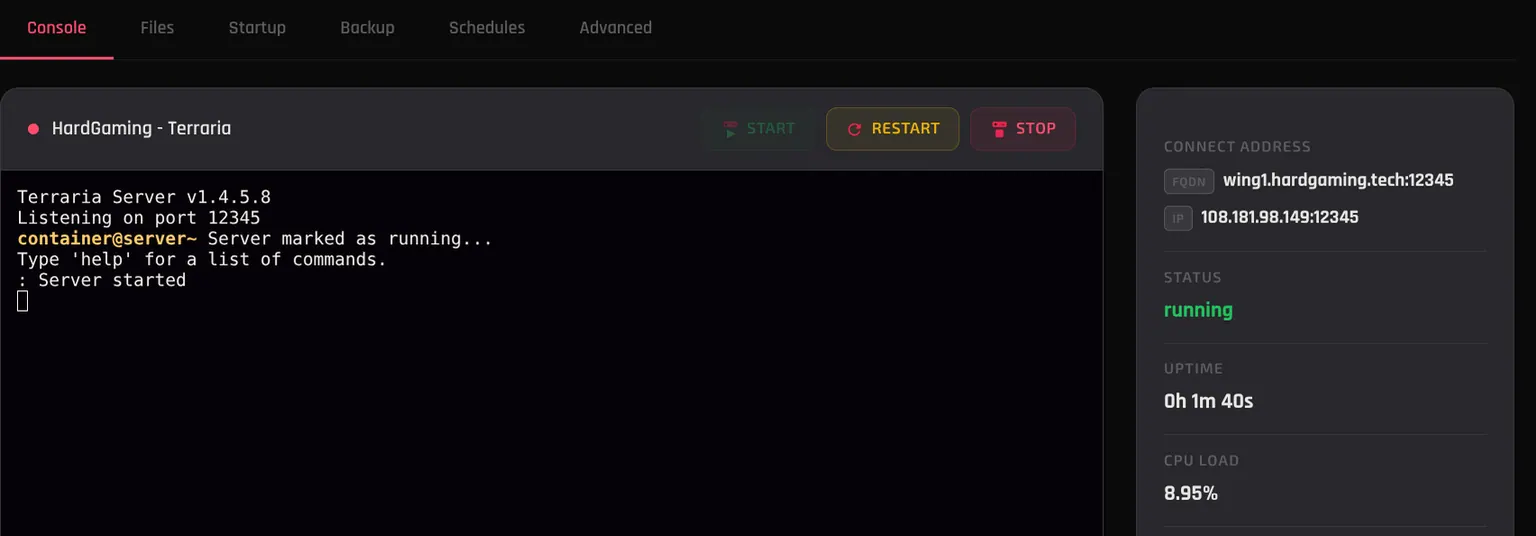
Payment takes you straight to your new server. The Console tab streams the install while Terraria downloads and unpacks, and the other tabs unlock as it finishes.
Watch STATUS on the right. It reads offline while the install runs, then running once the world is up, and the console prints Server started. CONNECT ADDRESS holds the FQDN and IP your friends need.
How Much RAM Does a Terraria Server Need?
1GB is the minimum HardGaming allows for Terraria, and that is exactly what Starter includes. Premium includes 2GB for $1 more a month.
No plan caps your player count, so memory is the thing you scale as a world grows. Pick 2GB or more if you chose a large world in Step 8. Resource upgrades are available later from your Billing page.
Terraria World Settings
Every setting in the General section, with the default it ships with.
| Setting | What it does | Default |
|---|---|---|
| Terraria version | The version the server runs. Accepts a full version number or a file number, such as 1.3.5.3 or 1353 | latest |
| World Name | The name of the world file | world |
| Max Players | The most players the server will hold | 8 |
| World Size | 1 for small, 2 for medium, 3 for large | 1 |
| Difficulty | 0 for normal, 1 for expert, 2 for master, 3 for journey | 3 |
| MOTD | The message players see when they join | Welcome! |
| World Seed | The seed used when generating the world. Empty means random | empty |
| Password | The password needed to join. Empty means no password | empty |
| NPCStream | Lowers enemy skipping at the cost of bandwidth. 0 turns it off | 0 |
Note: World Seed applies when the world is created. Once your world exists it lives in the saves folder on the Files tab, and you can edit any of these settings from the Startup tab.
Applying a Coupon Code
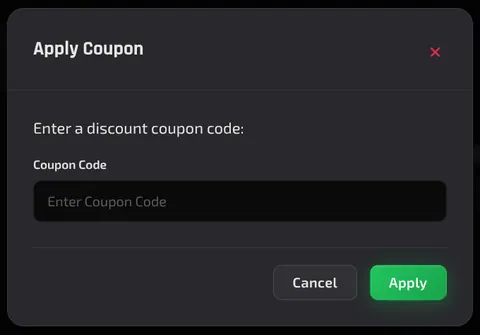
If you have a coupon, apply it before you pay. On the payment page, click Apply coupon code, type your code, and click Apply. The discount appears in Summary on the right.
Troubleshooting
Continue to Payment is greyed out?
- Server Name is empty. It is the only required field, and the summary panel says Please fill all required fields until you set it.
- Scroll back to the top of the Configuration step to find it.
Server still shows offline after paying?
- It is still installing. The Console tab shows the download and unpack running line by line.
- Wait for the console to print
Server started. STATUS changes torunningat the same time.
Friends cannot join?
- Check STATUS reads
running. A server that is offline or installing refuses connections. - Give them the address from CONNECT ADDRESS, including the port. The FQDN and the IP both work.
- If you set a Password in Step 8, they need it to get in.
Best Practices
- Set a Password unless you want the world open to anyone with your address.
- Leave Auto Update style settings alone until your world is stable, then change one thing at a time.
- Keep at least the three free backup slots, and use your DeepSave slot before any big change to the world.
- Start on 2GB if you picked a large world. Raising memory later is easier than recovering a world that ran out of it.
Next Steps
Your server now appears under My Servers on your dashboard, and it stays there between sessions. Open it any time to restart it, edit settings, or pull a backup.
- Protect your world with DeepSave
- Browse all Terraria guides
- Guides for every game we host
- Terraria server hosting
Need Help?
If you run into any issues, the HardGaming support team is here for you:
- Live Chat: use the chat widget on hardgaming.tech
- Discord: join our community for quick help
- Email: support@hardgaming.tech
Happy gaming! 🎮