Smalland: How to Set Up a Server
Table of Contents
Smalland: Survive the Wilds drops you and your friends to insect scale in a vast, hazardous world, and HardGaming runs the dedicated server for it from your browser. Every setting from friendly fire to server privacy is yours to set at checkout. This guide covers picking a plan, naming your server, configuring its world settings, paying, and confirming the server is running.
Before You Start
- A HardGaming account. Create one at hardgaming.tech before you start. The checkout flow requires you to be signed in.
- A payment method. Your card is entered at the last step and saved for the monthly subscription.
- PC, PlayStation 5 and Xbox Series consoles. Smalland added cross-play across all three in May 2025, so one server can serve players on any of them.
- Nothing to install. Every step happens in your browser. The server files are downloaded and unpacked for you.
- Your world settings are not final. Server name, password, and every option in Step 6 can change again once your server exists.
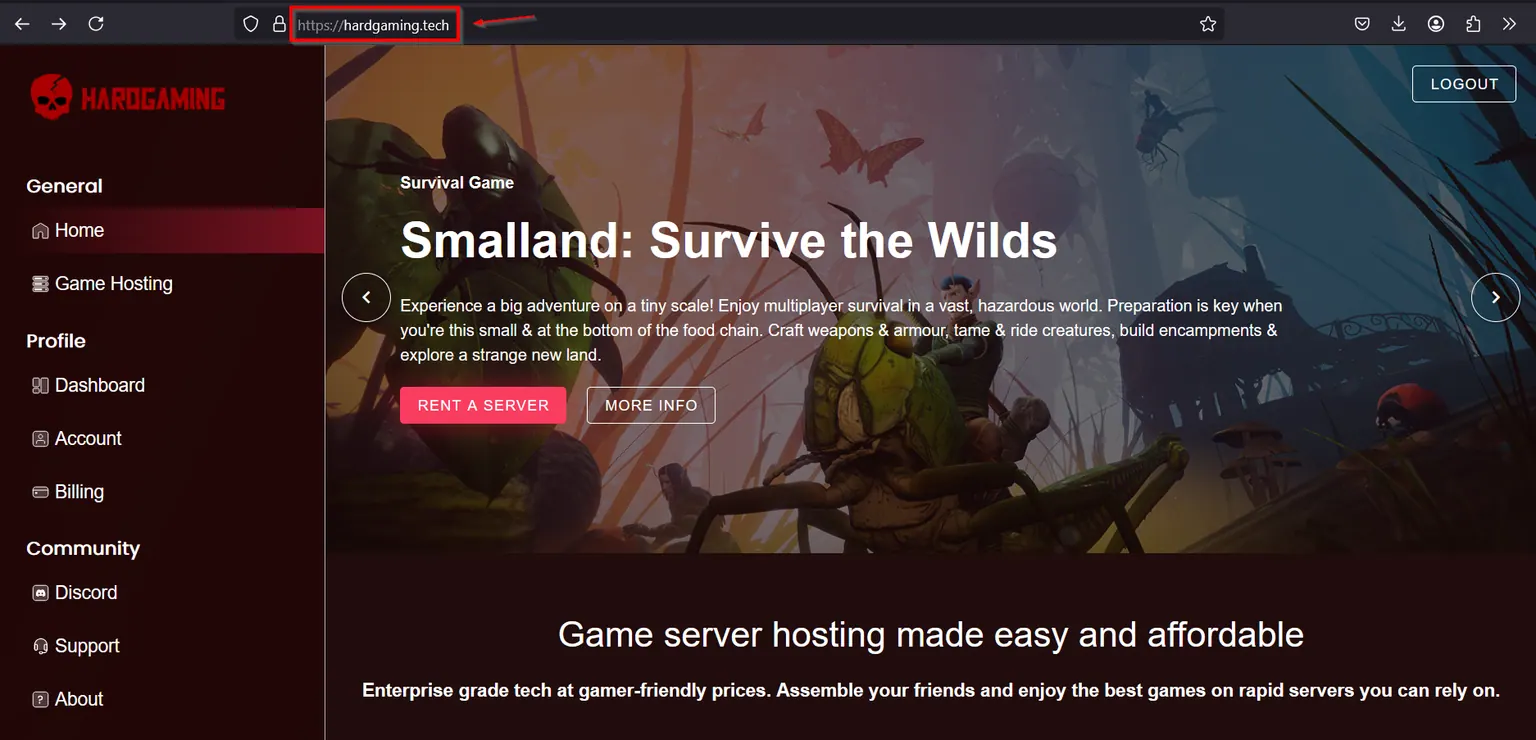
Step 1: Open the HardGaming Website
Go to hardgaming.tech and sign in. If you would rather skip the browsing, go straight to Smalland: Survive the Wilds server hosting and continue from Step 4.
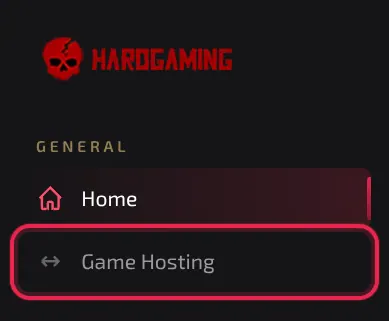
Step 2: Select Game Hosting
In the sidebar on the left, click Game Hosting.
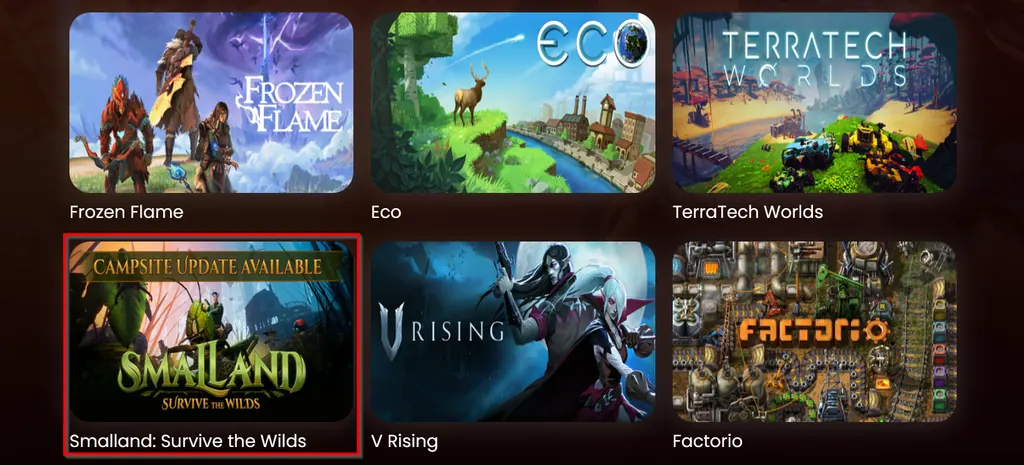
Step 3: Select the Smalland Tile
The grid lists every game HardGaming hosts. Click the Smalland: Survive the Wilds tile.
Step 4: Choose a Plan
Three plans are offered. Click the one that fits how you play.
- Starter suits solo play.
- Premium suits a team playing together.
- Custom lets you build a plan around your own needs.
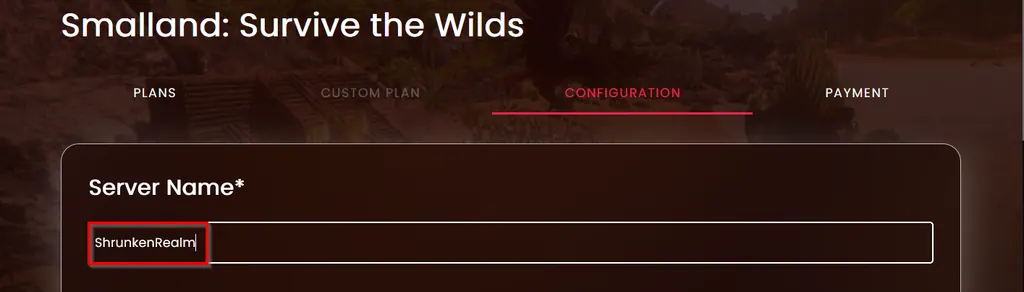
Step 5: Name Your Server
Type a name into Server Name. An asterisk marks it as required, and it is the name you will see in your dashboard.
Step 6: Configure Your World Settings
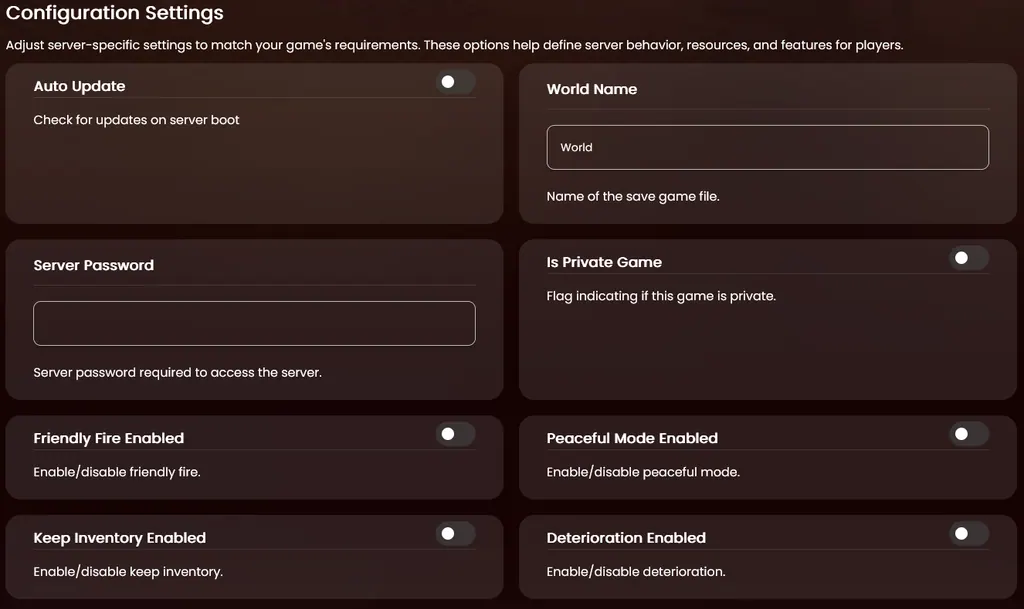
The Configuration Settings section holds 13 settings, covering everything from friendly fire to how long a season lasts. Every one has a working default, so change only what matters to you and move on. The full list is in Smalland World Settings below.
Server Password is worth setting now. Leaving it empty lets anyone with your address join. Is Private Game is a separate toggle that keeps the server out of public listings.
None of these choices are permanent. You can change any of them again once your server exists.
Step 7: Enter Your Payment Details
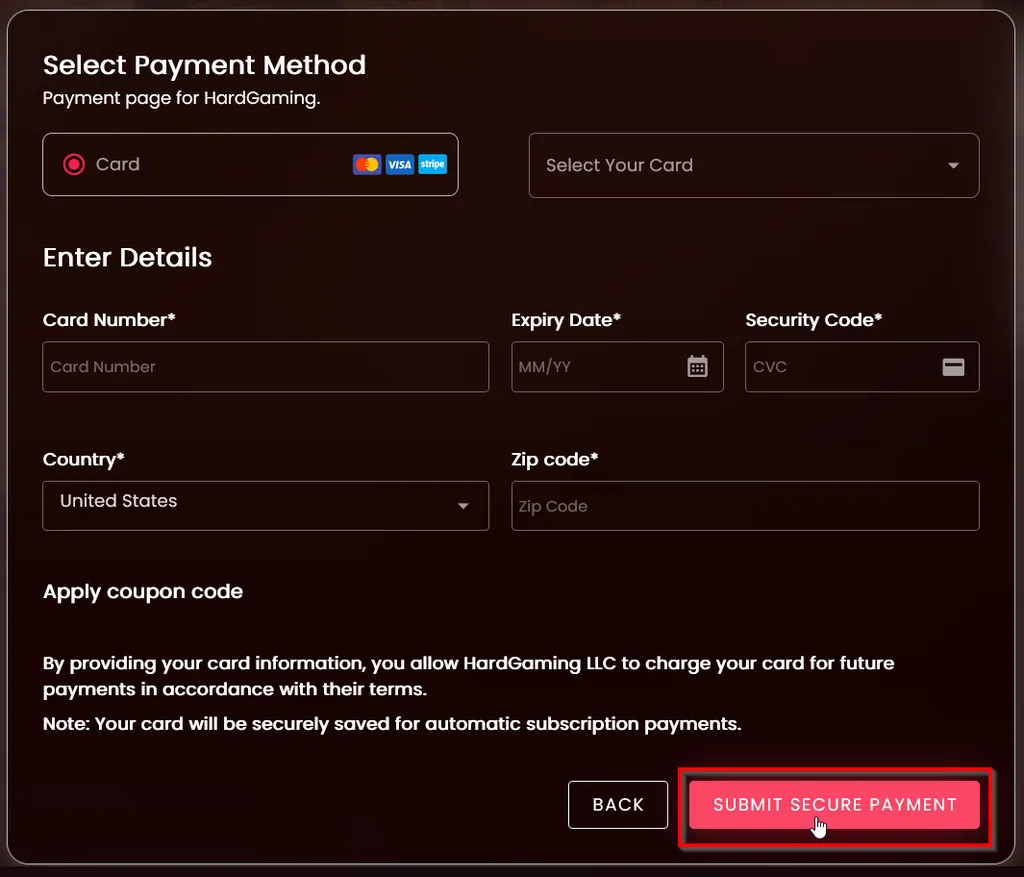
Fill in Card Number, Expiry Date, Security Code, Country and Zip code, then click Submit Secure Payment.
Warning: Your card is saved and charged every month until you cancel the server from your Billing page.
Step 8: Confirm Your Server Is Running
Payment takes you straight to your new server. The Console tab streams the install while Smalland downloads and unpacks, and the other tabs unlock as it finishes.
Watch STATUS on the right. It reads offline while the install runs, then running once the world is up. CONNECT ADDRESS holds the FQDN and IP your friends need.
Does Smalland Support Cross-Platform Play?
Yes. Smalland added cross-play between Steam, Epic Games Store, PlayStation 5 and Xbox Series consoles in May 2025, so your server is not limited to one storefront. Each player turns on cross-play from their own game settings before they connect.
Smalland World Settings
Every setting in the Configuration Settings section, with the default it ships with.
| Setting | What it does | Default |
|---|---|---|
| Auto Update | Checks for updates on server boot | Off |
| World Name | Name of the save game file | World |
| Server Password | Required to access the server | Empty |
| Is Private Game | Keeps the server out of public listings | Off |
| Friendly Fire Enabled | Enables or disables friendly fire | Off |
| Peaceful Mode Enabled | Enables or disables peaceful mode | Off |
| Keep Inventory Enabled | Keeps inventory after death | Off |
| Deterioration Enabled | Enables or disables item deterioration | Off |
| Length Of Day | Length of a day, in seconds | 1800 |
| Length of Seasons | Length of a season, in seconds | 10800 |
| Creature Health Modifier | Creature health, as a percentage of the base value | 100 |
| Creature Damage Modifier | Creature damage, as a percentage of the base value | 100 |
| Nourishment Loss Modifier | Rate of nourishment loss, as a percentage | 100 |
Note: Once your world exists, revisit any of these settings from your server to change them.
Applying a Coupon Code
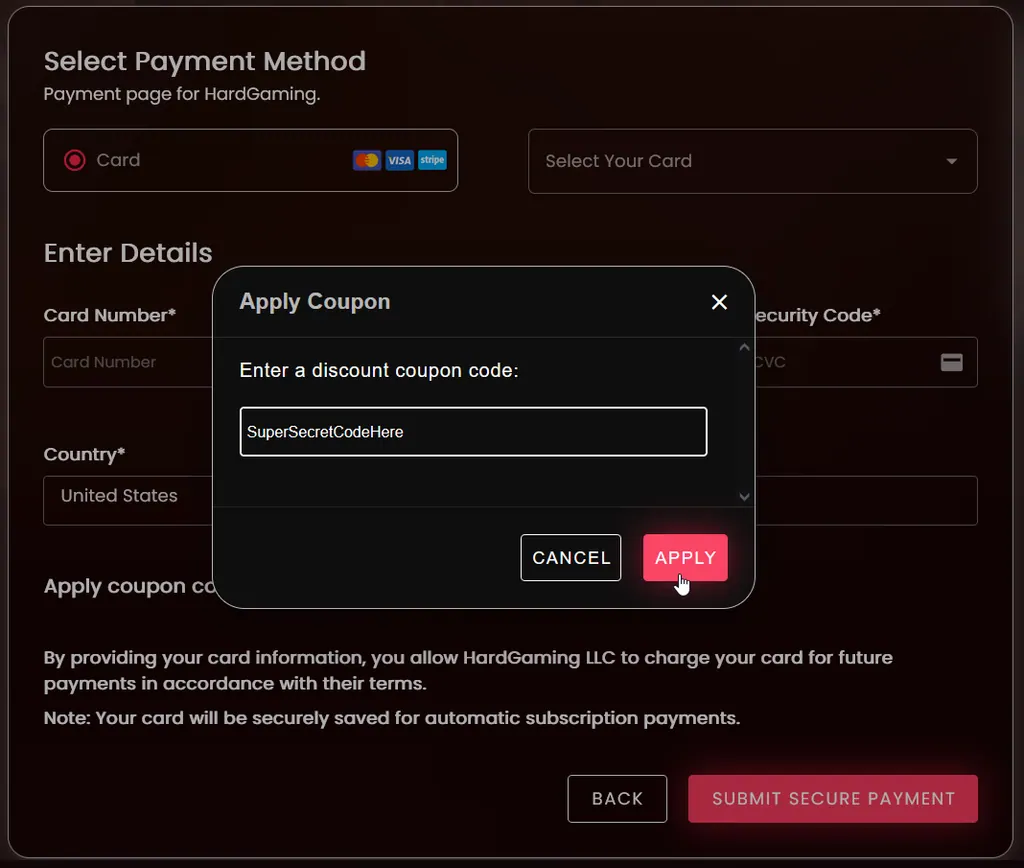
If you have a coupon, apply it before you pay. On the payment page, click Apply coupon code, type your code, and click Apply.
Troubleshooting
Stuck on the Configuration step?
- Server Name is required. An empty field is the most common reason the page will not move on.
- Scroll back to the top of the Configuration tab to find it.
Server still shows offline after paying?
- It is still installing. The Console tab shows the download and unpack running line by line.
- Give it a few minutes. STATUS changes to
runningonce the install finishes.
Friends cannot join?
- Check STATUS reads
running. A server that is offline or installing refuses connections. - Give them the address from CONNECT ADDRESS, including the port.
- If you set a Server Password in Step 6, they need it to get in.
Best Practices
- Set a Server Password unless you want the world open to anyone with your address.
- Turn on Auto Update only once your world is stable. It checks on every server boot, and an update mid-session can change things underfoot.
- Keep your DeepSave slot ready before a big change to the world. Every plan includes one.
- Adjust Creature Health Modifier and Creature Damage Modifier together, starting near the defaults, so combat stays balanced instead of swinging one way.
Next Steps
Your server now appears under My Servers on your dashboard, and it stays there between sessions. Open it any time to restart it, edit settings, or pull a backup.
- Protect your world with DeepSave
- Browse all Smalland guides
- Guides for every game we host
- Smalland: Survive the Wilds server hosting
Need Help?
If you run into any issues, the HardGaming support team is here for you:
- Live Chat: use the chat widget on hardgaming.tech
- Discord: join our community for quick help
- Email: support@hardgaming.tech
Happy gaming! 🎮