How to Set Up Project Zomboid Server
How to Set Up Project Zomboid Server
Here is a guide on how to set up your Project Zomboid server using the HardGaming website. If you have not already set up a HardGaming account you will need to do that before you can set up your server.
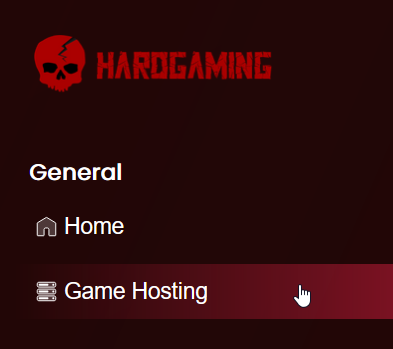
Navigate to HardGaming website:

Select “Game Hosting” from left side panel:
Select Project Zomboid tile:

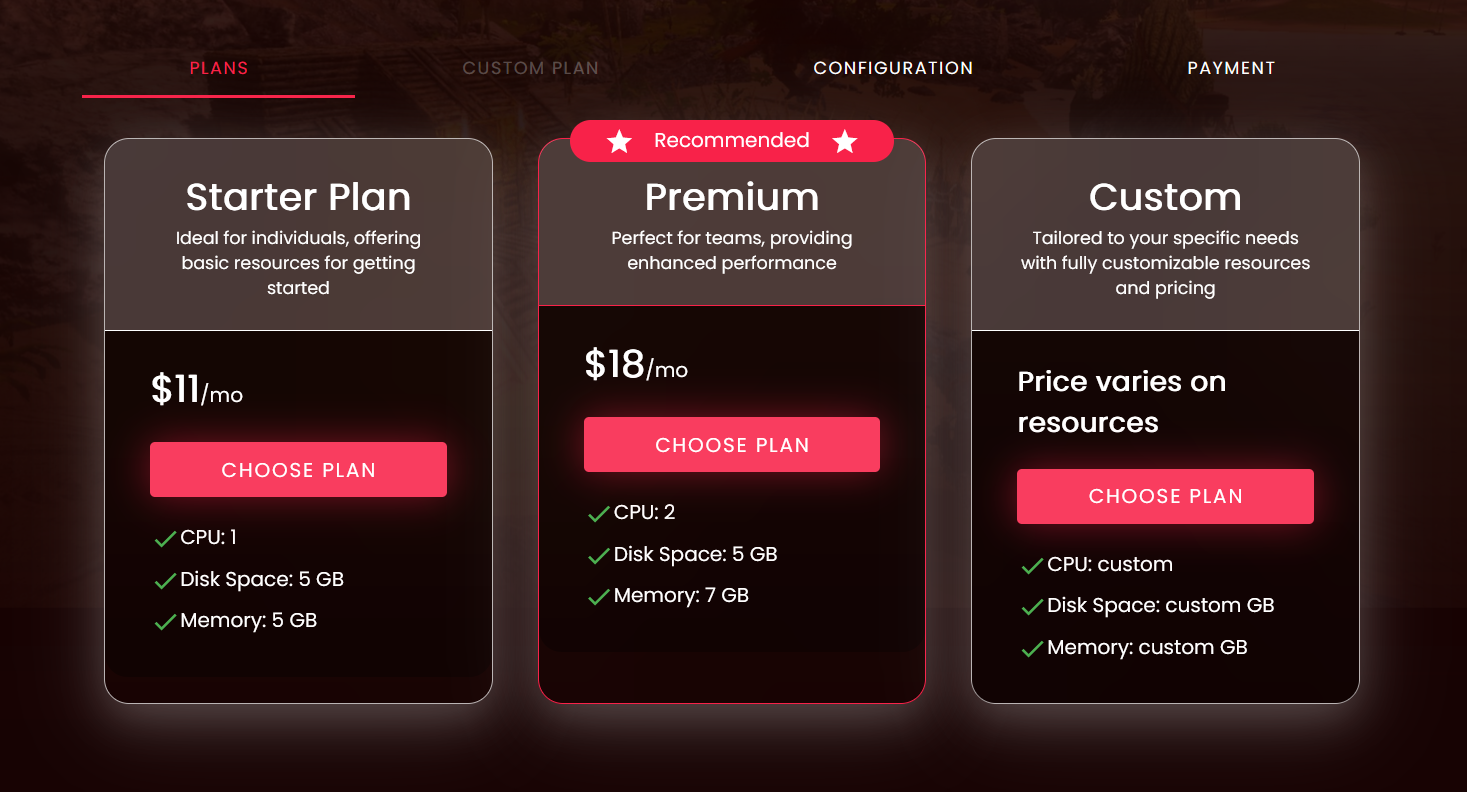
Choose a plan:
- Starter plan: for players who plan to enjoy the game solo.
- Premium plan: for players who plan to play with a team.
- Custom plan: for players who want a more personalized plan.
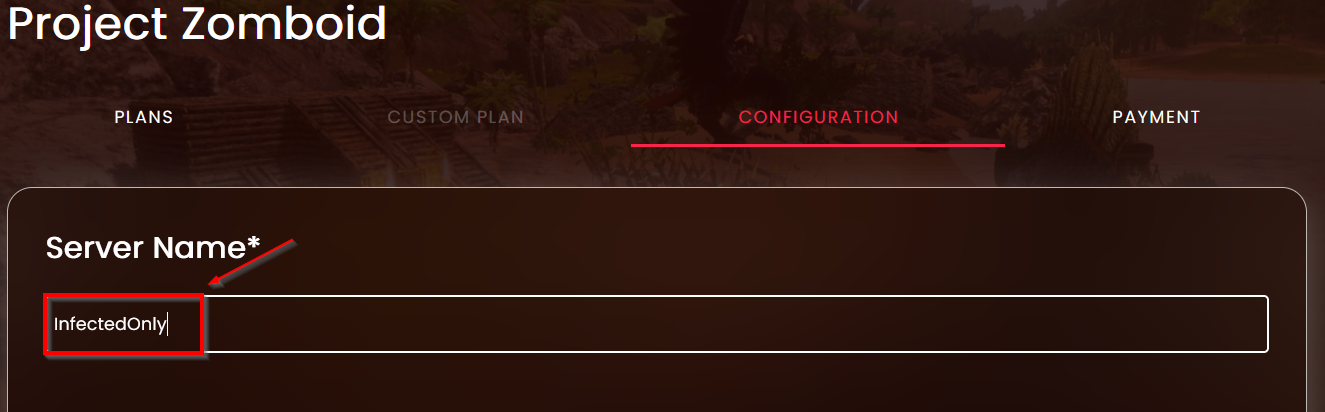
Configure your server:
Name your server
Configuration Settings
Setting Description Admin Username Set the username needed to login to the admin console Admin Password Set the password needed to login the admin console SteamPort Leave the default setting Max Players Set the max number of players allowed to join your server Steam Beta Branch If you are participating in a beta branch set the ID here, if not leave blank to install normal branch Steam Auto Update Input “1” if you want your server to update on start 
Once your settings are to your liking, don’t worry you can change it later, press the “Next” button.
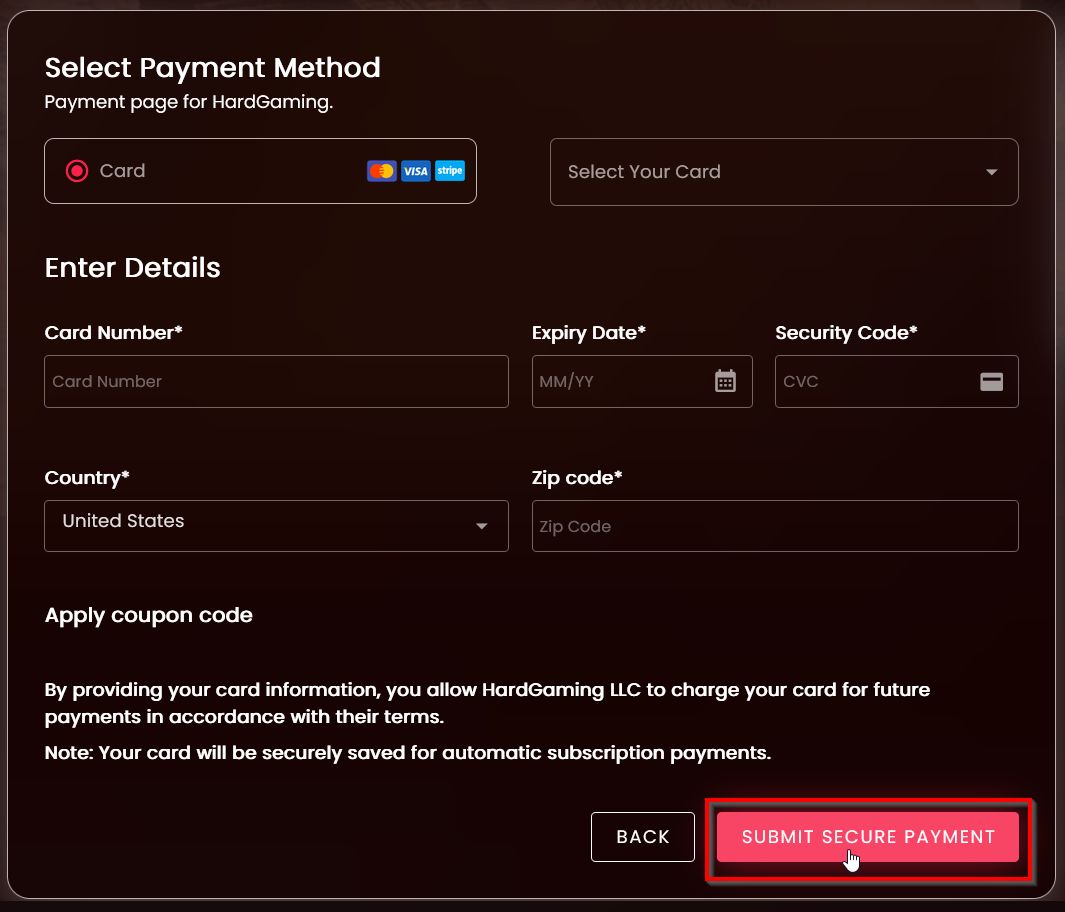
Select Payment Method
Enter new payment method
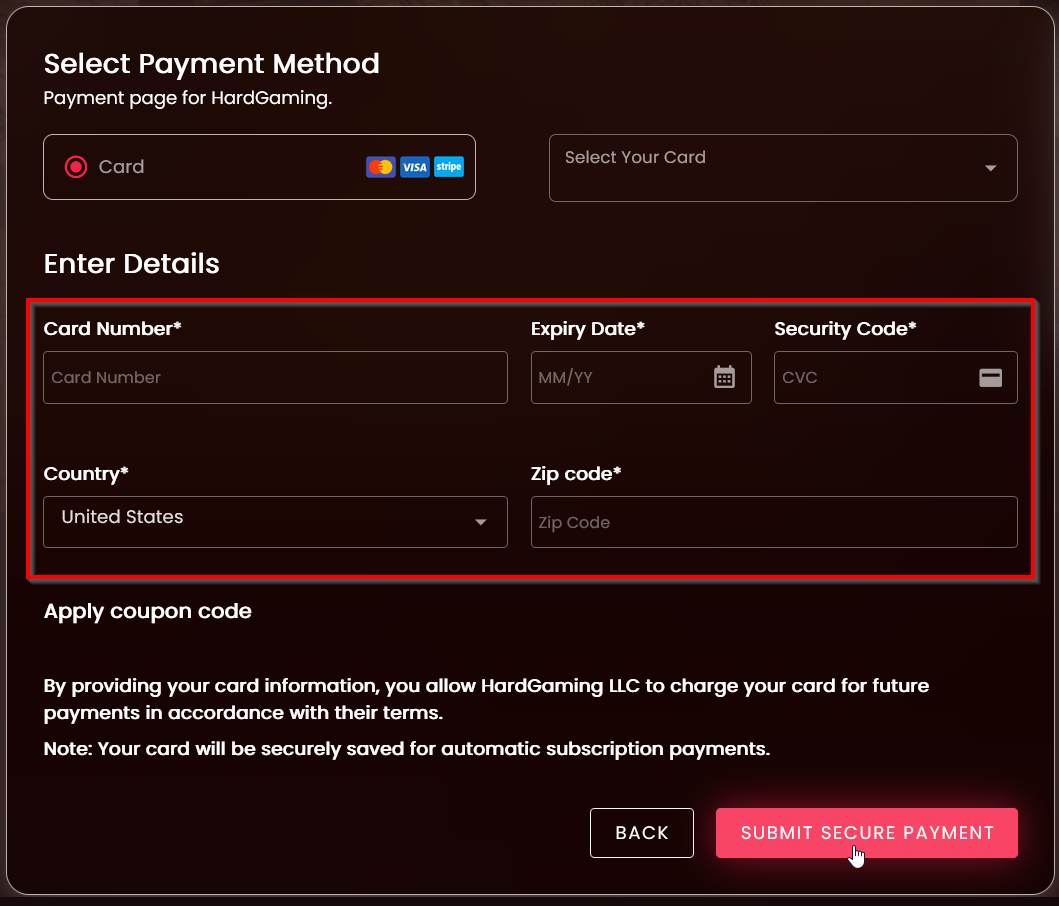
Or select your previous card payment

If you have coupon add it before you submit secure payment, select “Apply Coupon Code” and then type in the coupon and select “Submit” to apply


Once card information is filled in select “Submit Secure Payment”